


To celebrate this release, Alex is giving away 7 $10 gift certificates.
Please leave a comment on each of the participating designers’ blogs/IG accounts in this blog hop by 05/22/2020 for a chance to win.
Winners will be chosen at random from the comments left on any of the blogs/IG accounts listed below and will be announced on Alex’s blog on 05/23/2020. Please join us in the celebration and increase your chances of winning by taking a peek at the other creations made by the team! Alex Syberia
Amber Rain Davis
Hannelie Bester
Nora Niskanen
Ilda Dias
Natasha Vacca
LauraJane
Jenny Colacicco
Yasmin Diaz
Tina Wilstrup
Rebecca Rapanaro
TaeEun Yoo
Jyoti Adhikari
Colleen Balija
Sandhya Iyer
Deborah
Nicoletta Porcu
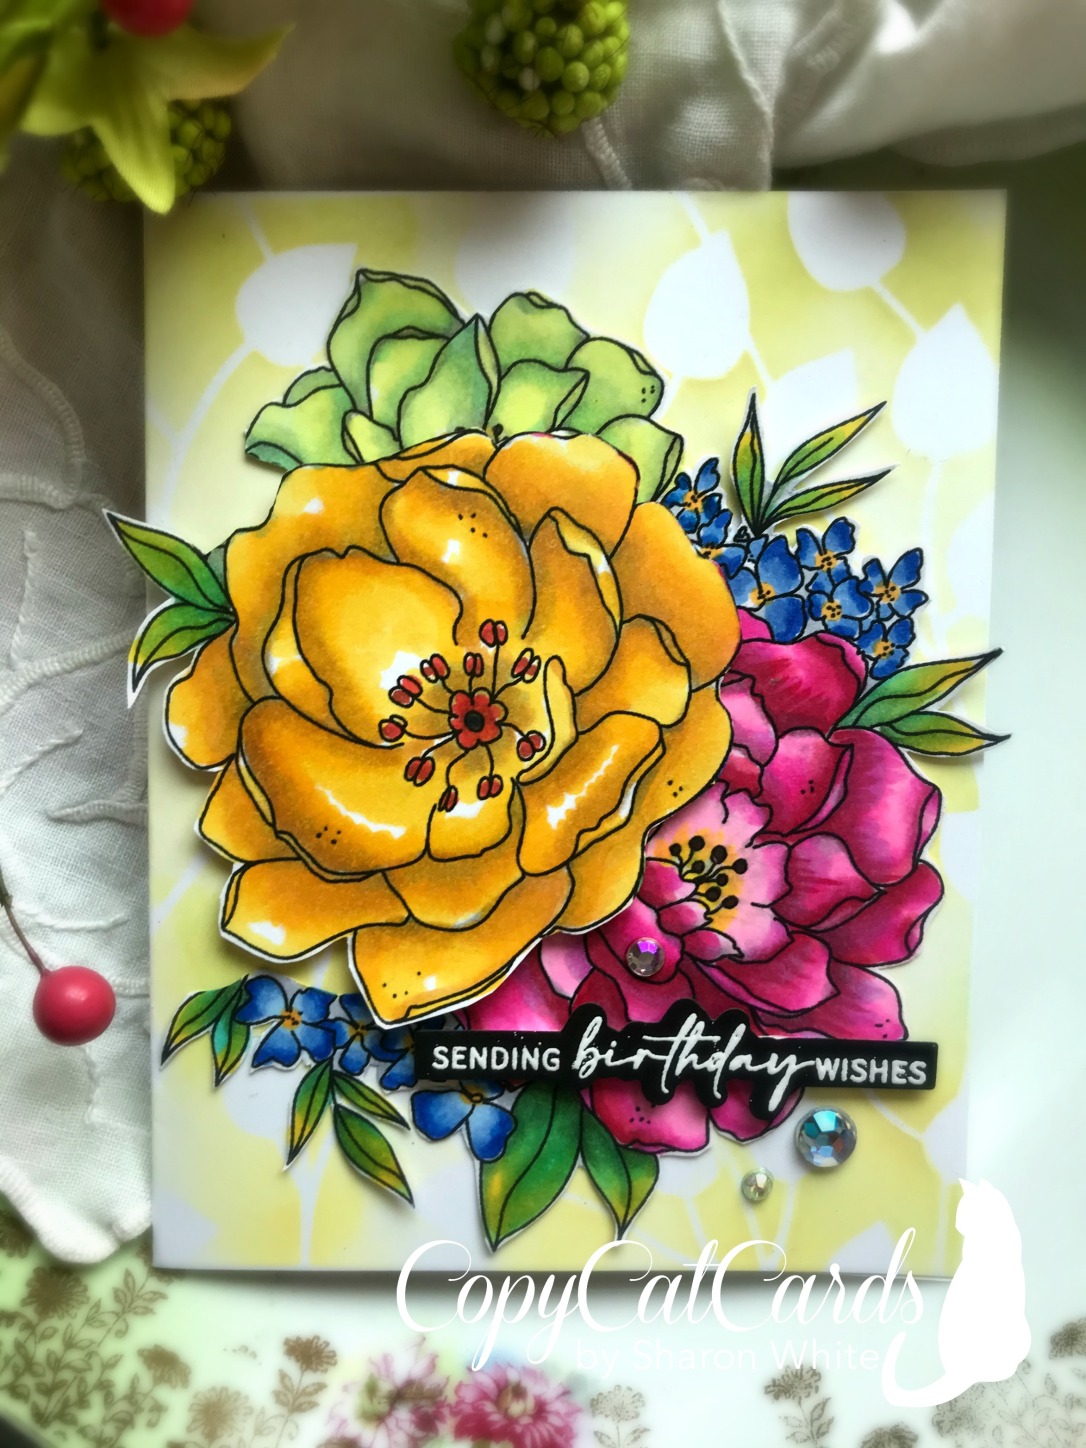
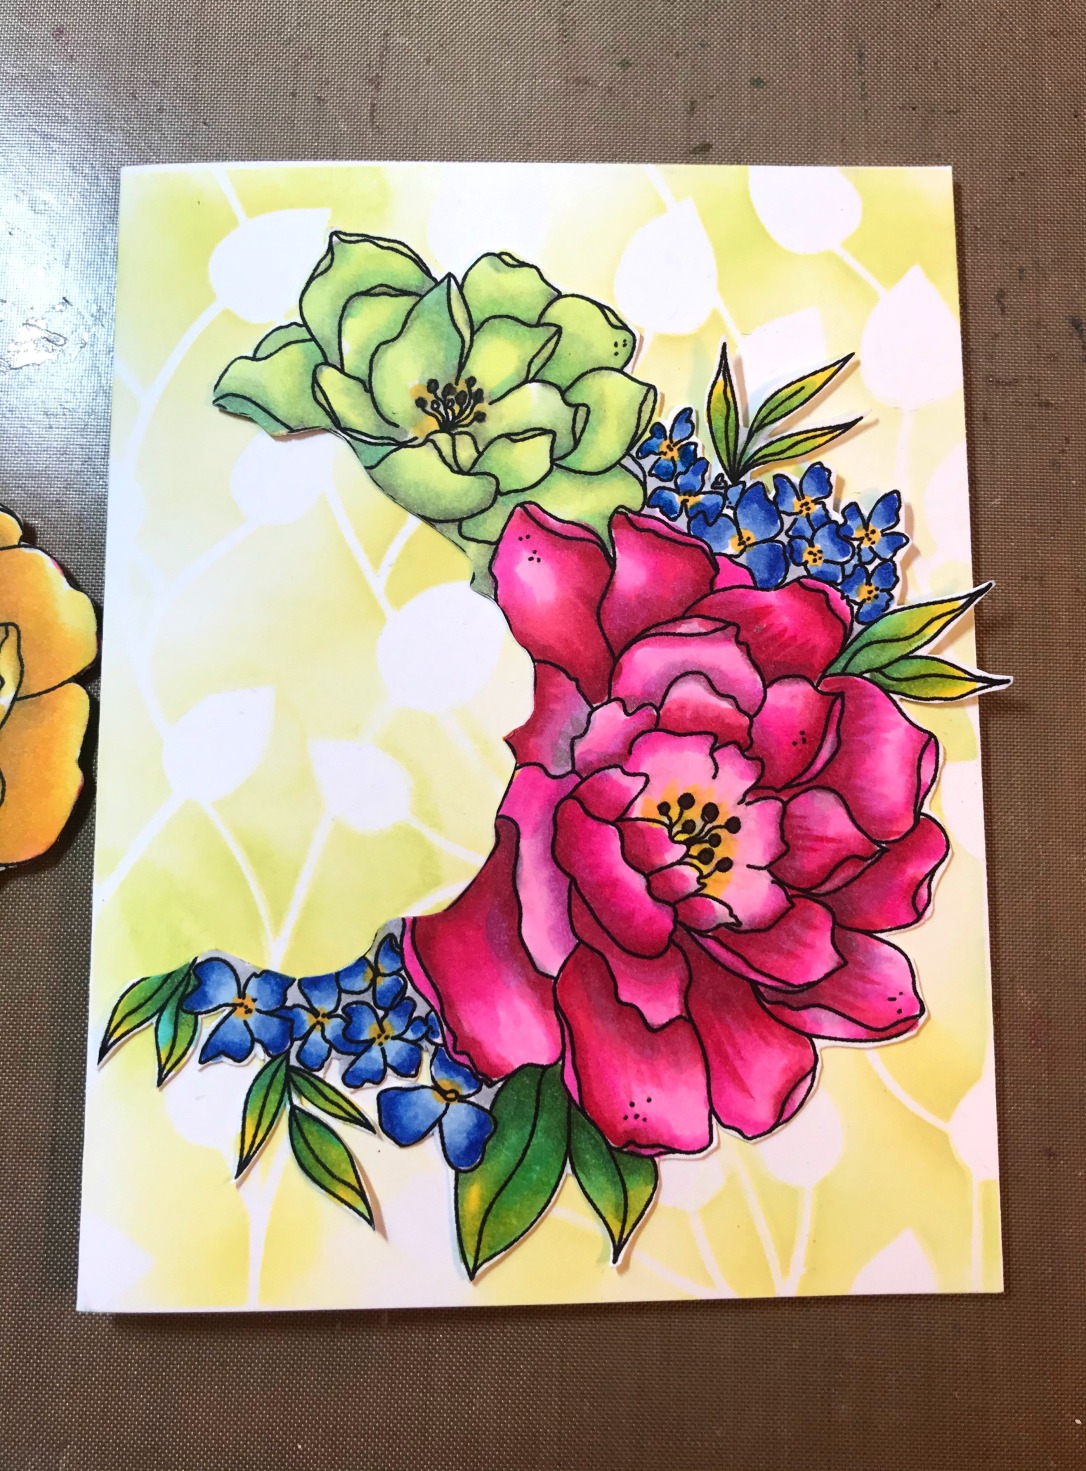
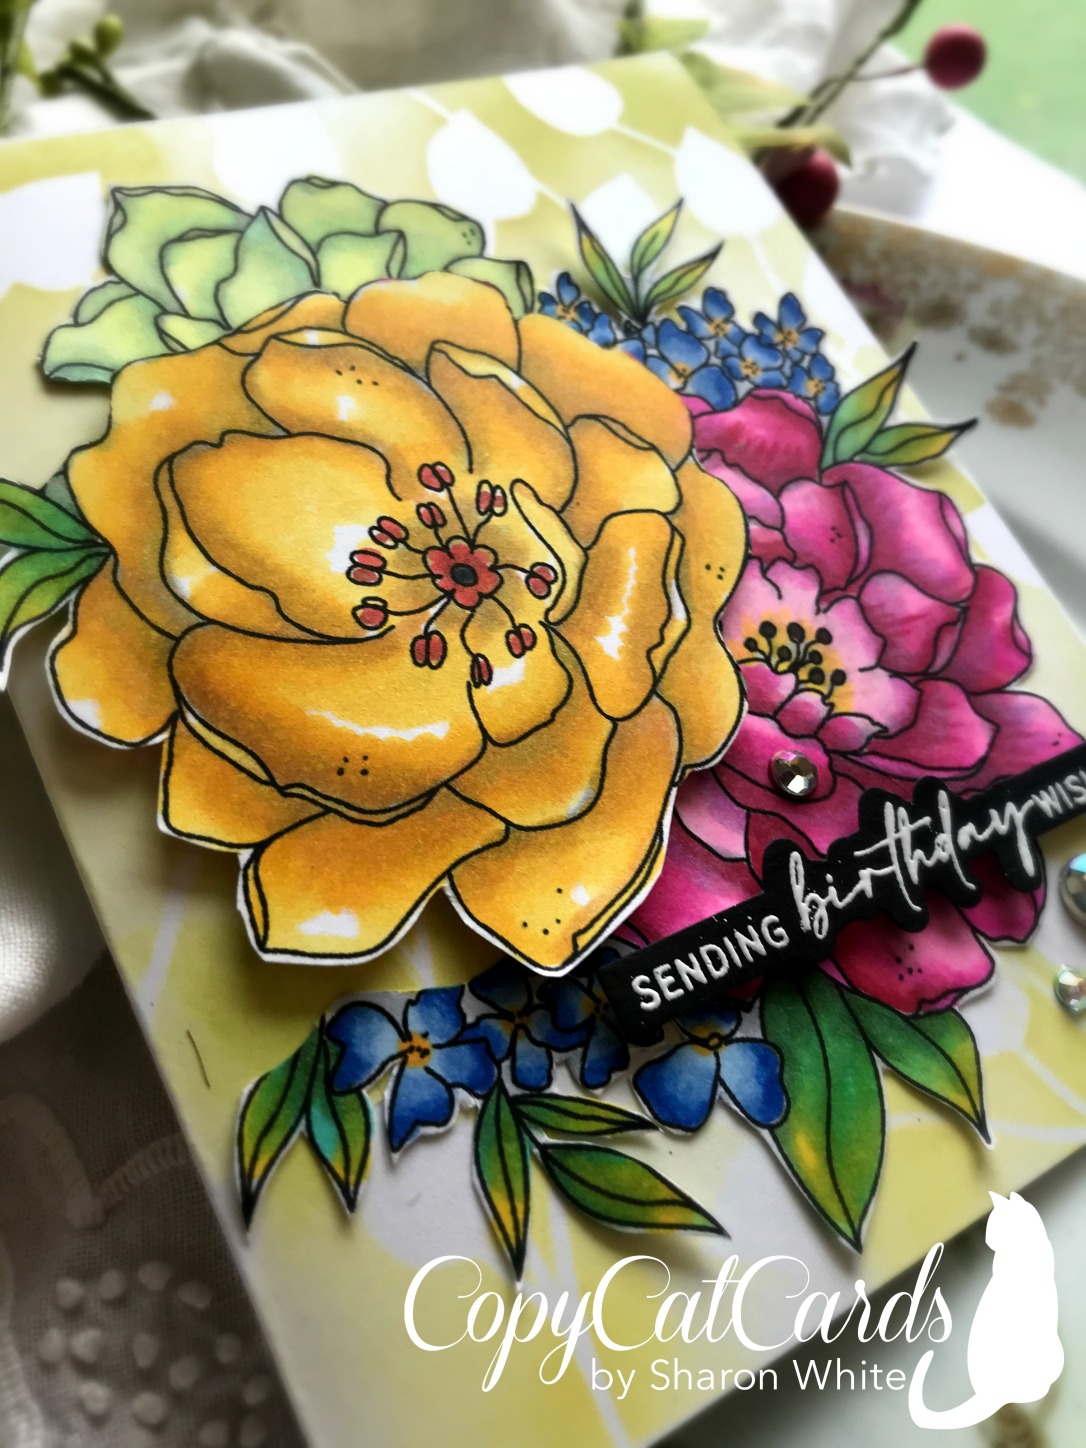
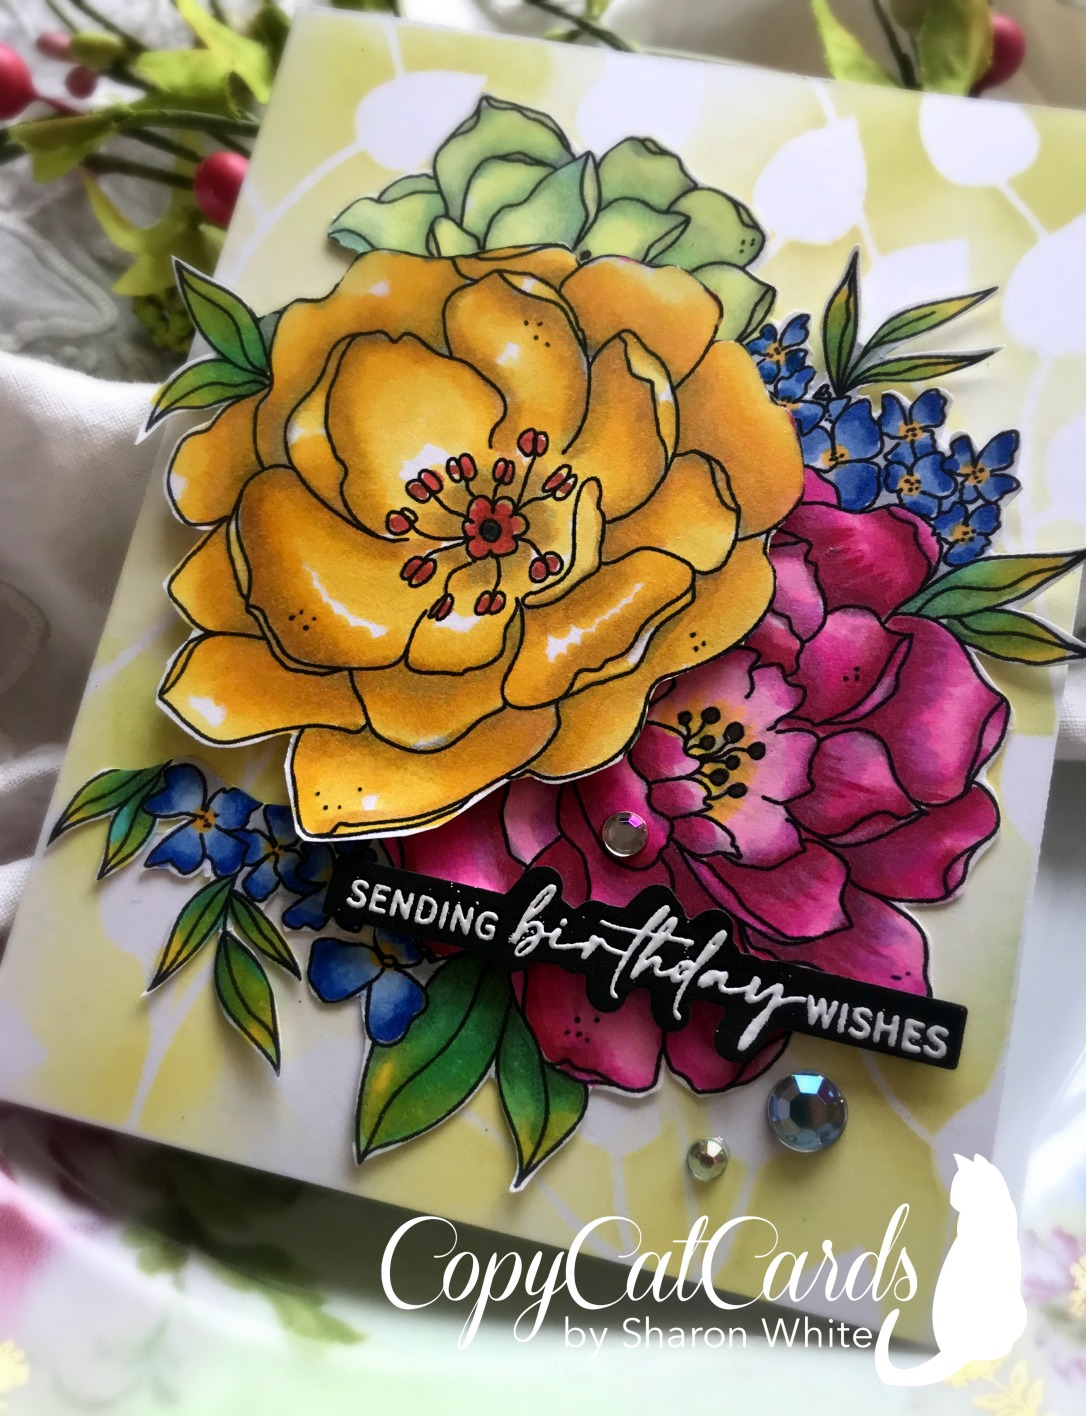
Sharon White
Elena Cazares
Bonnie Crane
Melissa Goodman


